Installation
First you need a Telegram bot. If you don't have one, create it via @BotFather.
Step 1: Install the module
bash
npx nuxi module add nuxt-telegram-authStep 2: Add your bot token
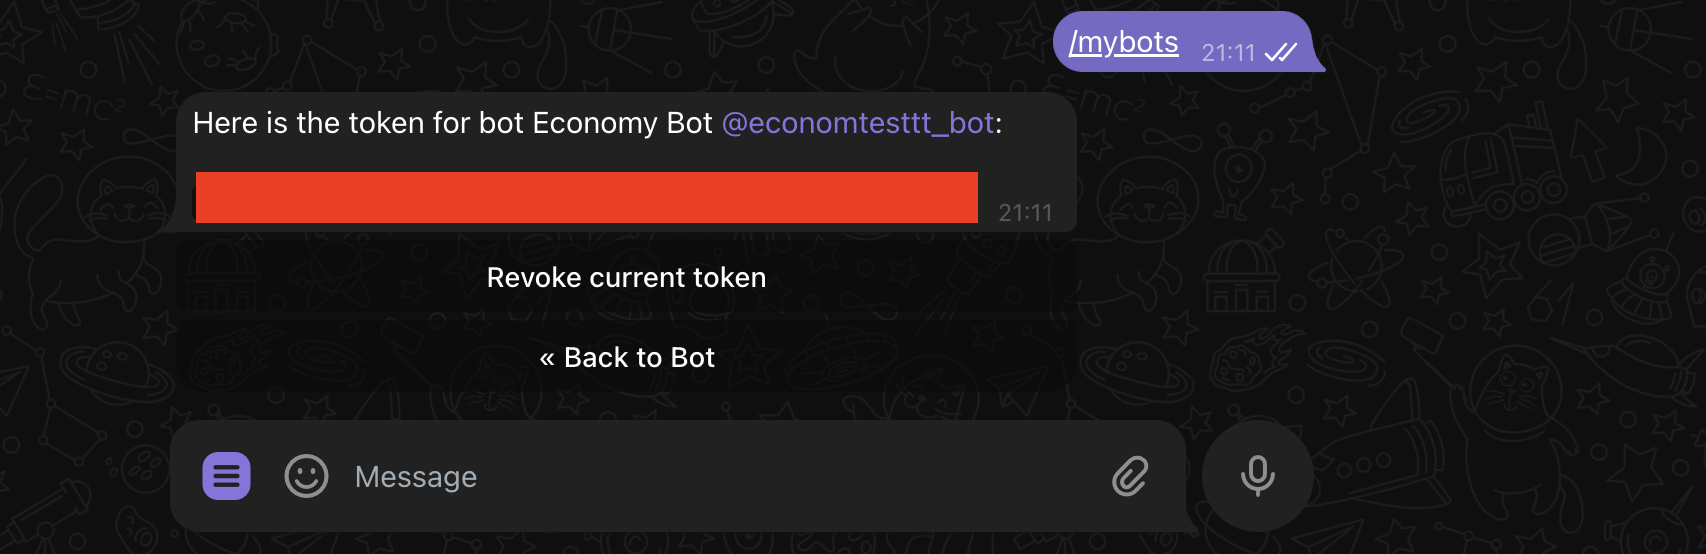
Grab your bot token from BotFather:
Then add it to nuxt.config.ts:
ts
export default defineNuxtConfig({
runtimeConfig: {
TELEGRAM_TOKEN: 'your_bot_token',
},
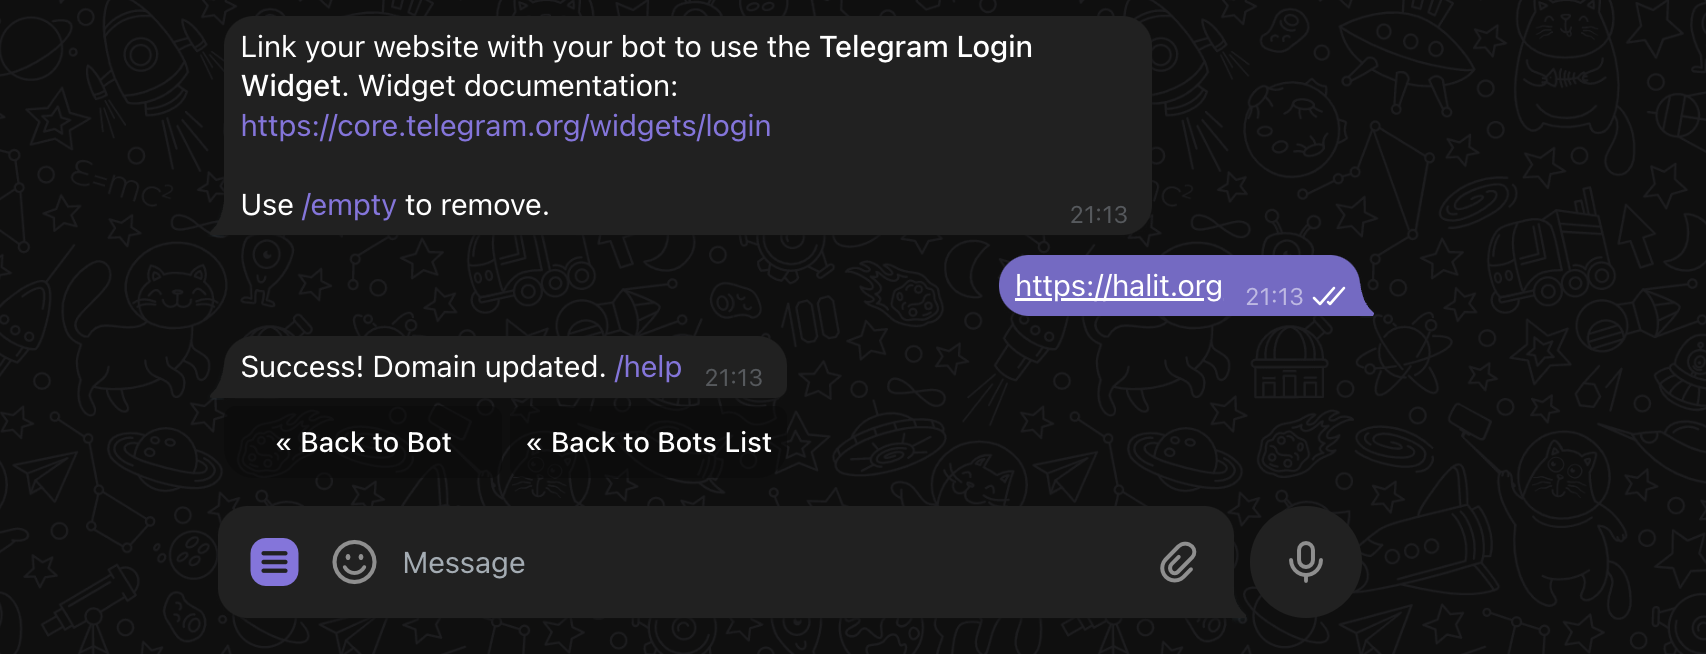
})Important: You also need to allow your domain in BotFather, otherwise you'll get an "Invalid Domain" error.
Step 3: Use the widget
vue
<template>
  <div>
    <div v-if="loading">Loading...</div>

    <div v-else-if="session.loggedIn">
      <p>Welcome, {{ session.first_name }}!</p>
      <button @click="clearSession">Logout</button>
    </div>

    <div v-else>
      <p v-if="error" style="color: red;">{{ error }}</p>
      <TelegramLoginWidget telegram-login="my_bot" @callback="onLogin" />
    </div>
  </div>
</template>

<script setup>
const { session, loading, error, clearSession, refresh } = useUserSession()

const onLogin = (user) => {
  console.log('Logged in:', user)
}
</script>
telegram-login should be your bot's username (without the @).
The @callback event is optional. It fires right after the widget returns user data, before the session is validated server-side.